
Shooting your own product photography, with a phone and a window
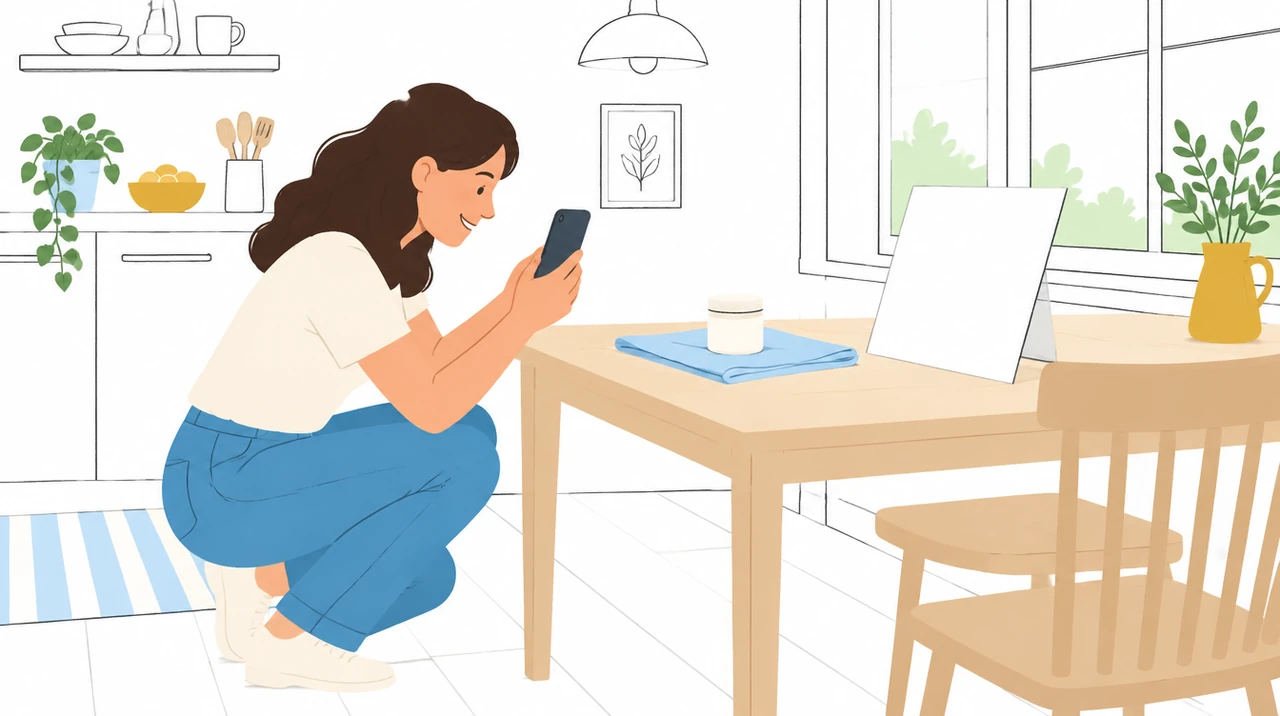
A professional product shoot is £400 to £1,500 a day, and for a brand with one or two products it is rarely the best use of the money at the start. A phone from the last five years and a north-facing window will get you images good enough to sell with.
What follows is the method. It takes a morning to learn and a morning a fortnight to run.
Light does most of the work
Everything else is arrangement. Get this right and mediocre framing still looks professional. Get it wrong and no amount of editing rescues it.
Use a big window on an overcast day. The light is soft, even and free, and it beats most of the lighting kit sold to beginners. Direct sun produces hard shadows and blown highlights that no editing will recover.
Put the product side-on to the window rather than facing it. Side light shows texture. Light coming from behind you flattens everything.
Bounce the shadow side. A sheet of white card, a piece of foam board or a folded tea towel propped opposite the window fills the dark side and does the job of a second light. It costs about two pounds and improves every shot you take.
Turn the room lights off. Daylight mixed with a warm bulb produces a colour cast that is hard to correct afterwards.
The setup, for under £30
- Two sheets of A1 white card, one for the surface and one to bounce
- A roll of neutral fabric or a plain linen tea towel, for texture underneath
- A piece of pale wood or a stone tile if your product suits it
- Blu Tack, for stopping round things rolling
- A cheap phone tripod, which matters more than it sounds
That is it. Resist the light tent: it produces the shadowless, floating look that reads as a cheap listing.
The three things beginners get wrong
Shooting from standing. Most amateur product photos are taken looking down from head height, which is the clearest giveaway there is. Get the phone down to the product's own height, or a little above it.
Zooming with fingers. Digital zoom throws away detail, so move closer instead. Use the main lens rather than the ultra-wide, which bends the edges of anything close to it.
Over-editing. Raise the exposure a little, correct the white balance, straighten the frame, and stop. Heavy filters and crushed contrast turn a good photograph into an advert.
The five shots every listing needs
Shoot these for every product and you will never be short of an image.
The plain one. Product alone on a neutral surface, well lit, nothing else in the frame. This becomes your main listing image and gets used everywhere.
The scale one. In a hand, next to a mug, on a shelf. Buyers misjudge size constantly, and size causes a large share of returns.
The in-use one. Being applied, poured, worn or opened. This shot sells the product, and most small brands skip it.
The detail one. Close on the texture, the finish, the stitching, the grind. Quality becomes visible at this distance and nowhere else.
The unboxing one. Everything that arrives, laid out. It sets expectations honestly, and people screenshot it to send to a friend.
Batching, because shooting daily is how people stop
Set aside one morning a fortnight. Do every product, all five shots, plus anything seasonal you will need in the next month.
Keep the setup identical each time: same window, same surface, same distance, same time of day. Consistency across a grid or a shop page does more for how a brand looks than any individual photograph.
Name the files properly as you go and keep the originals. In eighteen months you will want a crop you did not take, and you will be grateful.
When to hire a photographer after all
Three situations where it is worth the money: a campaign with people in it, a product whose material genuinely defies a phone camera, and the point at which you are spending more than a day a month shooting and would rather be running the business.
Until then, the window is fine.